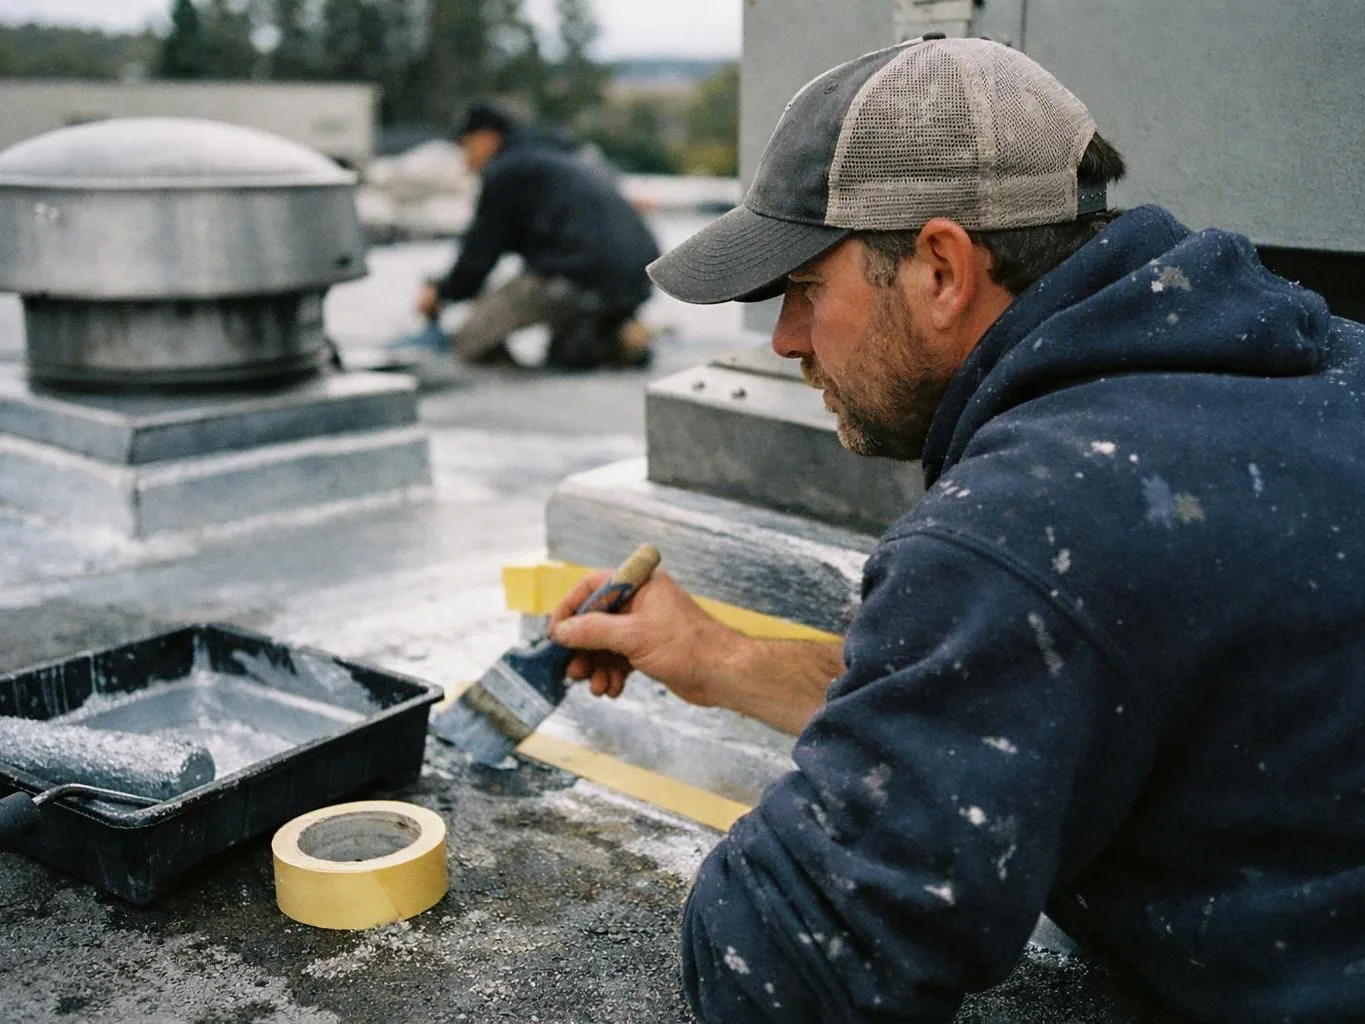
Popcorn Ceiling Removal: From Texture Removal to a Finished Ceiling
Popcorn ceiling removal and finishing includes protecting the room, removing the texture, repairing the ceiling surface, applying the chosen finish, and painting. PainterRedmondwa.com plans each stage so the finished ceiling has a consistent appearance.
Get a Free EstimateWhat Does Popcorn Ceiling Removal and Finishing Include?
Popcorn ceiling removal includes removing the texture, preparing the drywall, applying the selected finish, and painting the ceiling. Our team can guide the project from the original acoustic ceiling texture to the finished surface.
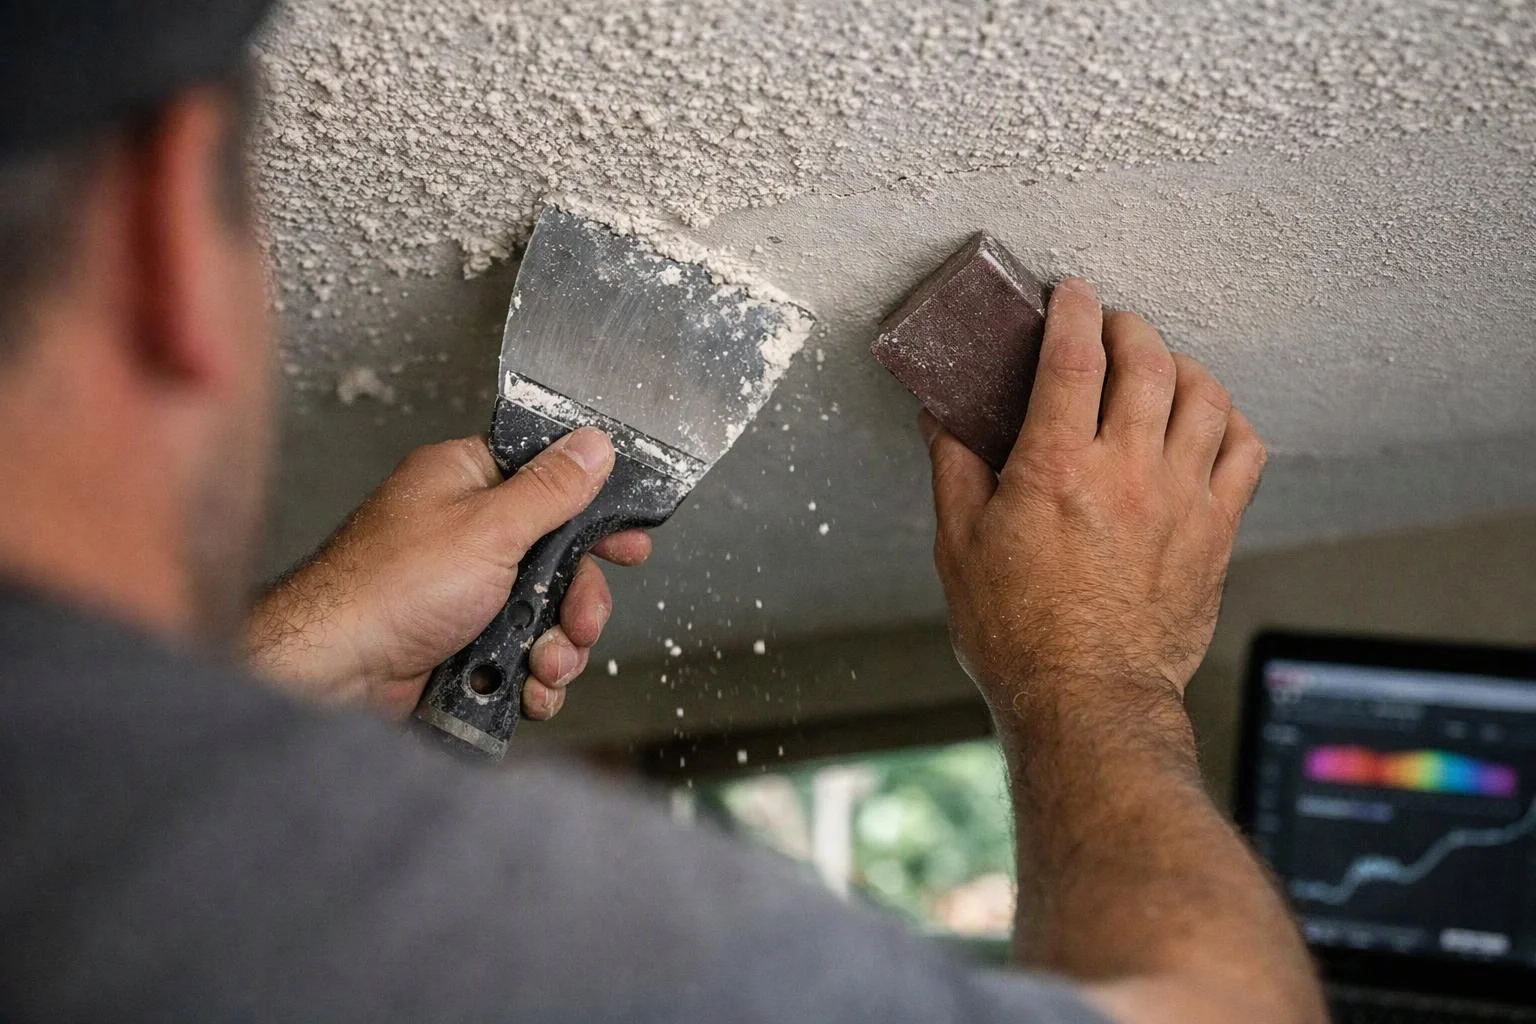
Texture removal exposes the ceiling drywall below. That surface may need drywall repair, joint compound, or a skim coat before ceiling finishing begins. We then apply the selected texture or smooth finish and complete the work with ceiling painting.
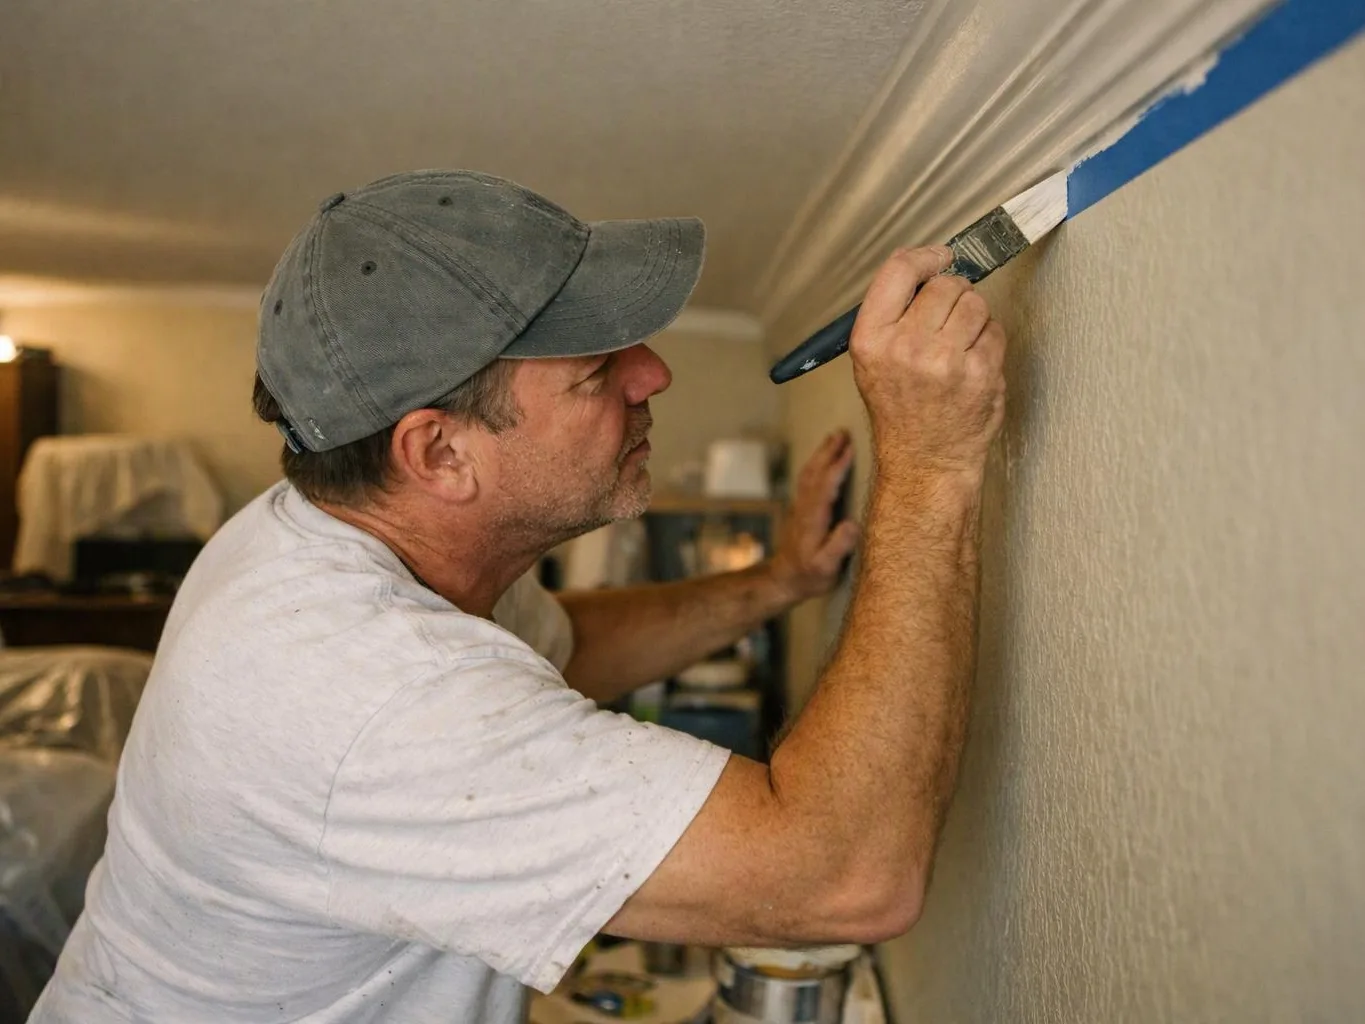
Our Popcorn Ceiling Removal service follows the condition of the ceiling and the finish you want. Room protection stays in place while our crew works above your living space.
Why Finish the Ceiling After Removing Popcorn Texture?
Ceiling finishing gives the exposed drywall a planned appearance after popcorn texture removal. Removing the old texture alone can leave surface imperfections, repair marks, and uneven paint absorption.
A prepared drywall surface helps paint adhere evenly. A consistent finish also reflects light more smoothly across the room, which can make ceiling flaws easier to see when preparation is incomplete.
Finishing the ceiling supports room updates by matching the ceiling to new wall colors, lighting, or flooring. The final choice may be a smooth ceiling, a light drywall texture, or another selected finish.
How We Turn a Textured Ceiling Into a Finished Surface
Our ceiling finishing process moves from room protection to surface preparation, coating, and final inspection. Each step helps maintain finish consistency across the ceiling.
Inspecting the Ceiling Before Removal
Ceiling inspection shows our team what the removal and repair stages may involve. We look for drywall damage, cracks, water stains, loose areas, and signs of previous repairs.
Ceiling condition can change the preparation plan. Our crew also checks access points and nearby fixtures so room protection covers the work area properly.
Repairing and Preparing the Drywall
Drywall repair prepares the ceiling surface for the selected finish and paint. Our team fills damaged areas with joint compound and uses a skim coat when the surface needs broader leveling.
Sanding removes ridges and softens repair edges. Good surface preparation helps prevent visible patches from showing through the final ceiling paint.
Priming and Painting the Finished Ceiling
Ceiling primer helps create an even base when repairs or exposed drywall could affect paint coverage. Our team selects the preparation needed for the ceiling surface.
We apply ceiling paint for a uniform finish and check the surface after painting. The final inspection looks for missed areas, visible repair lines, uneven sheen, and finish consistency.
Which Ceiling Finish Fits Your Room?
The best ceiling finish depends on the room’s style, lighting, drywall condition, and maintenance goals. Our team reviews these factors during finish selection.
Smooth finishes show more surface detail, while textures can soften minor visual variation. The comparison below explains the common choices after popcorn removal.
| Finish | Appearance | Key consideration |
|---|---|---|
| Smooth ceiling | Clean and flat | Needs careful drywall repair and surface preparation. |
| Drywall texture | Adds light surface variation | Can support a consistent look across repaired areas. |
| Orange peel texture | Fine, rounded texture | Works when a subtle textured appearance fits the room. |
| Knockdown texture | More visible flattened texture | Needs controlled application for even finish consistency. |
| Painted ceiling | Finished with the selected ceiling color | Paint coverage depends on preparation and the chosen surface. |
Does Popcorn Ceiling Removal Require Drywall Repair and Painting?
Yes, popcorn ceiling removal often requires drywall repair and painting because removing the texture can reveal uneven areas and unpainted surfaces.
Drywall repair may be needed where the old texture covered cracks, stains, joints, or previous patches. Our team prepares those areas before applying primer and ceiling paint.
Painting completes the process by covering the prepared surface and creating a finished ceiling. The final result depends on the ceiling condition, chosen finish, and quality of surface preparation.
What Changes the Scope of a Ceiling Finishing Project?
The project scope changes when the existing ceiling needs more removal, repair, preparation, or finish work. Our team reviews these factors before planning the work.
How We Prepare an Estimate for Ceiling Removal and Finishing
The project estimate depends on the ceiling condition, removal scope, repairs, selected finish, and painting needs; PainterRedmondwa.com provides free estimates.
Our team reviews the ceiling during a project inspection and outlines the scope of work. We discuss the finish selection, drywall repairs, primer needs, and ceiling painting before work begins.
The estimate explains which preparation steps support the finished ceiling. Free Estimates Available helps you request a project review before choosing the final scope.
Questions About Popcorn Ceiling Removal and Finishing
Can popcorn texture be removed from every ceiling?
Popcorn texture can be removed from many ceilings, but the ceiling condition determines the proper plan. Our team checks the material, drywall surface, stains, cracks, and previous repairs before removal.
What happens if removing popcorn texture exposes ceiling damage?
Exposed ceiling damage is repaired and prepared before the new finish is applied. Our crew may use joint compound, skim coating, sanding, and primer to create a ready surface.
Can a ceiling be painted after the popcorn texture is removed?
Yes, a ceiling can be painted after popcorn texture removal when the drywall surface has been repaired and prepared. Primer and ceiling paint help create an even, finished appearance.
Is a smooth ceiling the only finish available after popcorn removal?
No, a smooth ceiling is not the only available finish after popcorn removal. Our team can discuss drywall texturing, orange peel texture, knockdown texture, or a painted smooth ceiling based on the room and your finish choice.
Related Resources
Popcorn Ceiling Removal or Skim Coating: Compare the Project Options
Compared ToWallpaper Removal or Painting Over It: Which Service Fits the Job?
When You Need ItWhen Cracking or Peeling Popcorn Ceiling Texture Needs Attention
What It SolvesWhen Wallpaper Is Hard to Remove or Damages the Wall